
系统:CentOS 7 大模型:百炼
网络环境:魔法! 也可以使用国内源
一.安装OpenClaw
环境:node 版本要>=22 pnpm git
如果你的网络环境不好,就先把环境安装了
Linux有一键安装
curl -fsSL https://openclaw.ai/install.sh | bash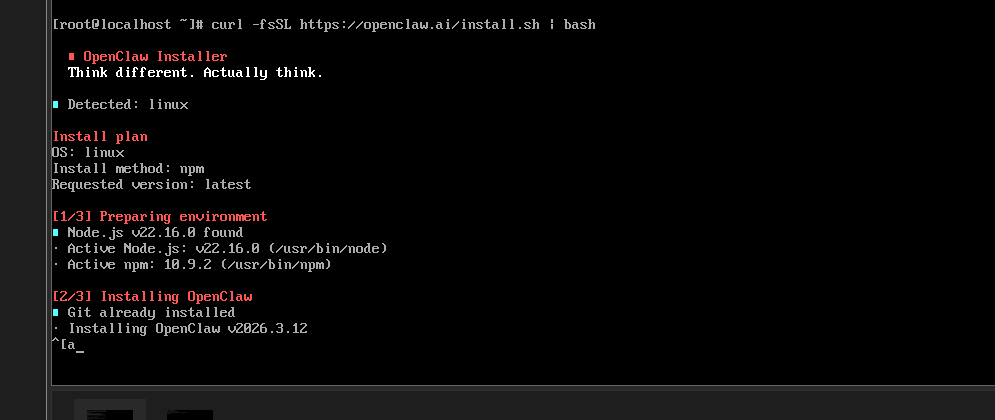
安装失败的话大概率都是网络环境不行
安装完成后 开始运行引导程序
openclaw onboard --install-daemon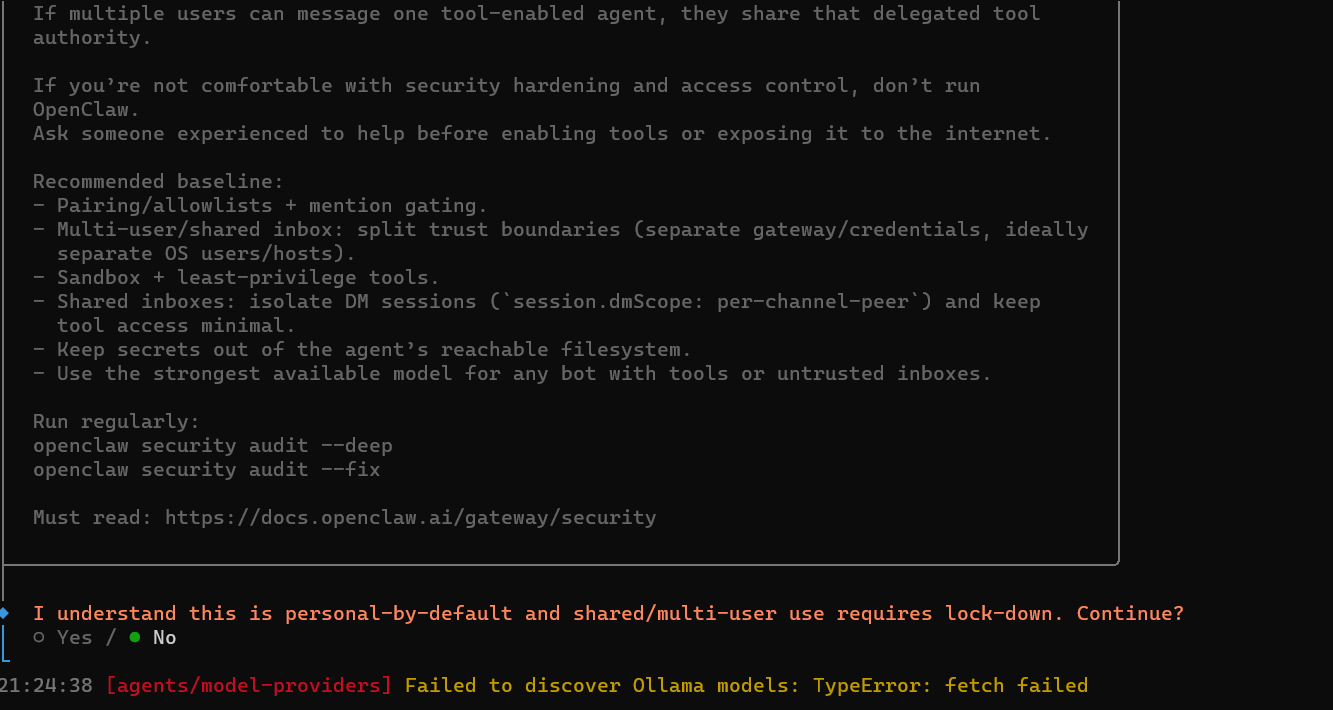
引导选项
| 选项 | 选择 |
| I understand this is personal-by-default and shared/multi-user use requires lock-down. Continue? | yes |
| Onboarding mode | Manual |
| Config handling(第一次安装不会有这个) | Reset |
| Reset scope(第一次安装不会有这个) | Full reset |
| What do you want to set up? | Local gateway (this machine) |
| Workspace directory | /root/.openclaw/workspace |
选择大模型,国内国外的都有部分适配
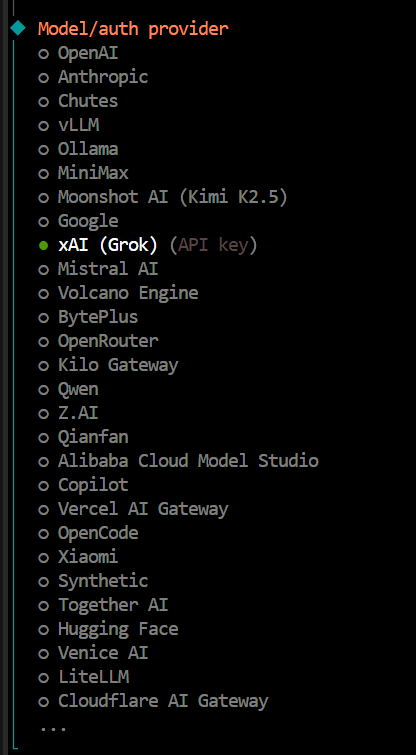
如果你想免费用一会的话可以选择Qwen
你有这里大模型Api Kay的话就选择对应的
但是调用频繁会限流

如果你的 大模型里面没有就先选择 Skip for now 跳过
我选择的是跳过,我用阿里百炼
| Filter models by provider | All providers |
| Default model | keep current |
| Gateway port | 18789 (默认端口) |
| Gateway bind | 根据你自己选择我选择的是LAN(0.0.0.0) |
| Gateway auth | token |
| Tailscale exposure | Serve |
| Reset Tailscale serve/funnel on exit? | No |
| How do you want to provide the gateway token? | Generate/store plaintext token (Default) |
| Gateway token (blank to generate) | 空白 |
| Configure chat channels now? | yes |
| Select a channel | finished(我先不选择接入,后面都可以设置) |
| Search provider | Skip for now (也先不选择,后面能设置) |
| Configure skills now? (recommended) | yes |
| Install missing skill dependencies | github(都可以选择) |
| Show Homebrew install command? | yes |
| Set GOOGLE_PLACES_API_KEY for goplaces? | no |
| Set GEMINI_API_KEY for nano-banana-pro? | no |
| Set NOTION_API_KEY for notion? | no |
| Set OPENAI_API_KEY for openai-image-gen? | no |
| Set ELEVENLABS_API_KEY for sag? | no |
| Enable hooks? | 全选 |
| Gateway service runtime | Node (recommended) |
| Gateway service already installed(第一次安装不会有这个) | Reinstall |
| How do you want to hatch your bot? | Open the Web UI |
选择完就安装完成啦
如果你是在虚拟机部署的
现在看看网关有没有启动
root@localhost:~# openclaw gateway status

🦞 OpenClaw 2026.3.11 (29dc654) — Your config is valid, your assumptions are not.

22:36:33 [agents/model-providers] Failed to discover Ollama models: TypeError: fetch failed
│
◇
Service: systemd (enabled)
File logs: /tmp/openclaw/openclaw-2026-03-13.log
Command: /usr/bin/node /usr/lib/node_modules/openclaw/dist/index.js gateway --port 18789
Service file: ~/.config/systemd/user/openclaw-gateway.service
Service env: OPENCLAW_GATEWAY_PORT=18789

Config (cli): ~/.openclaw/openclaw.json
Config (service): ~/.openclaw/openclaw.json

Gateway: bind=loopback (127.0.0.1), port=18789 (service args)
Probe target: ws://127.0.0.1:18789
Dashboard: http://127.0.0.1:18789/
Probe note: Loopback-only gateway; only local clients can connect.

Runtime: running (pid 3629, state active, sub running, last exit 0, reason 0)
RPC probe: ok

Listening: 127.0.0.1:18789
Troubles: run openclaw status
Troubleshooting: https://docs.openclaw.ai/troubleshooting
显示systemd (enabled)就是启动了
然后在浏览器输入127.0.0.1:18789就能进入OpenClaw的web页面啦
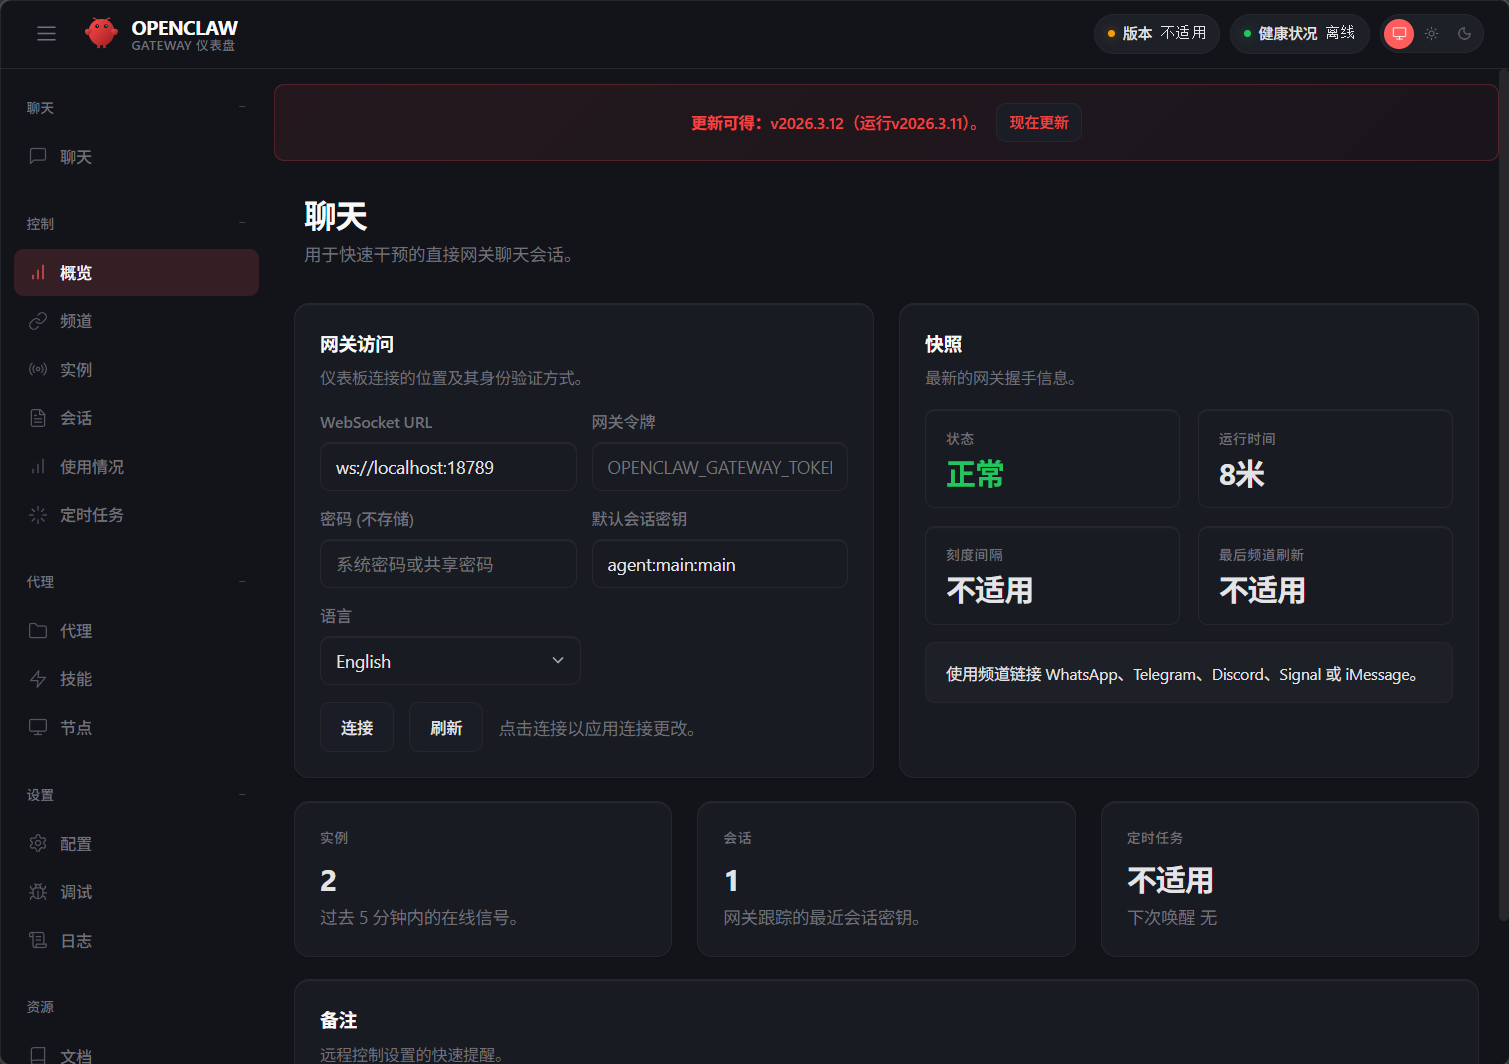
目前我只是装了OpenClaw(虾壳)还没有给他选择大模型所以是用不了的。
安装百炼大模型
先找到OpenClaw的目录 我这里有设置在/root里面
配置 openclaw.json
root@localhost:~# ls -a
.   anaconda-ks.cfg  .bash_logout   .bashrc  .cshrc    love.txt  .openclaw  .tcshrc
..  .bash_history    .bash_profile  .config  .lesshst  .npm      .ssh       .viminfo
root@localhost:~# cd .openclaw/
root@localhost:~/.openclaw# ls
agents       cron      logs               openclaw.json.bak.1  openclaw.json.bak.4
canvas       devices   openclaw.json      openclaw.json.bak.2  update-check.json
completions  identity  openclaw.json.bak  openclaw.json.bak.3  workspace
root@localhost:~/.openclaw# vi openclaw.json
#openclaw.json 替换成下面的内容
{
"models": {
"mode": "merge",
"providers": {
"bailian": {
"baseUrl": "https://coding.dashscope.aliyuncs.com/v1",
"apiKey": "YOUR_API_KEY", #替换成百炼的API Kay
"api": "openai-completions",
"models": [
{
"id": "qwen3.5-plus",
"name": "qwen3.5-plus",
"reasoning": false,
"input": ["text", "image"],
"cost": { "input": 0, "output": 0, "cacheRead": 0, "cacheWrite": 0 },
"contextWindow": 1000000,
"maxTokens": 65536,
"compat": {
"thinkingFormat": "qwen"
}
},
{
"id": "qwen3-max-2026-01-23",
"name": "qwen3-max-2026-01-23",
"reasoning": false,
"input": ["text"],
"cost": { "input": 0, "output": 0, "cacheRead": 0, "cacheWrite": 0 },
"contextWindow": 262144,
"maxTokens": 65536,
"compat": {
"thinkingFormat": "qwen"
}
},
{
"id": "qwen3-coder-next",
"name": "qwen3-coder-next",
"reasoning": false,
"input": ["text"],
"cost": { "input": 0, "output": 0, "cacheRead": 0, "cacheWrite": 0 },
"contextWindow": 262144,
"maxTokens": 65536
},
{
"id": "qwen3-coder-plus",
"name": "qwen3-coder-plus",
"reasoning": false,
"input": ["text"],
"cost": { "input": 0, "output": 0, "cacheRead": 0, "cacheWrite": 0 },
"contextWindow": 1000000,
"maxTokens": 65536
},
{
"id": "MiniMax-M2.5",
"name": "MiniMax-M2.5",
"reasoning": false,
"input": ["text"],
"cost": { "input": 0, "output": 0, "cacheRead": 0, "cacheWrite": 0 },
"contextWindow": 196608,
"maxTokens": 32768
},
{
"id": "glm-5",
"name": "glm-5",
"reasoning": false,
"input": ["text"],
"cost": { "input": 0, "output": 0, "cacheRead": 0, "cacheWrite": 0 },
"contextWindow": 202752,
"maxTokens": 16384,
"compat": {
"thinkingFormat": "qwen"
}
},
{
"id": "glm-4.7",
"name": "glm-4.7",
"reasoning": false,
"input": ["text"],
"cost": { "input": 0, "output": 0, "cacheRead": 0, "cacheWrite": 0 },
"contextWindow": 202752,
"maxTokens": 16384,
"compat": {
"thinkingFormat": "qwen"
}
},
{
"id": "kimi-k2.5",
"name": "kimi-k2.5",
"reasoning": false,
"input": ["text", "image"],
"cost": { "input": 0, "output": 0, "cacheRead": 0, "cacheWrite": 0 },
"contextWindow": 262144,
"maxTokens": 32768,
"compat": {
"thinkingFormat": "qwen"
}
}
]
}
}
},
"agents": {
"defaults": {
"model": {
"primary": "bailian/qwen3.5-plus"
},
"models": {
"bailian/qwen3.5-plus": {},
"bailian/qwen3-max-2026-01-23": {},
"bailian/qwen3-coder-next": {},
"bailian/qwen3-coder-plus": {},
"bailian/MiniMax-M2.5": {},
"bailian/glm-5": {},
"bailian/glm-4.7": {},
"bailian/kimi-k2.5": {}
}
}
},
"gateway": {
"mode": "local"
}
}
配置完成后就能使用啦!
二.连接到QQ/飞书
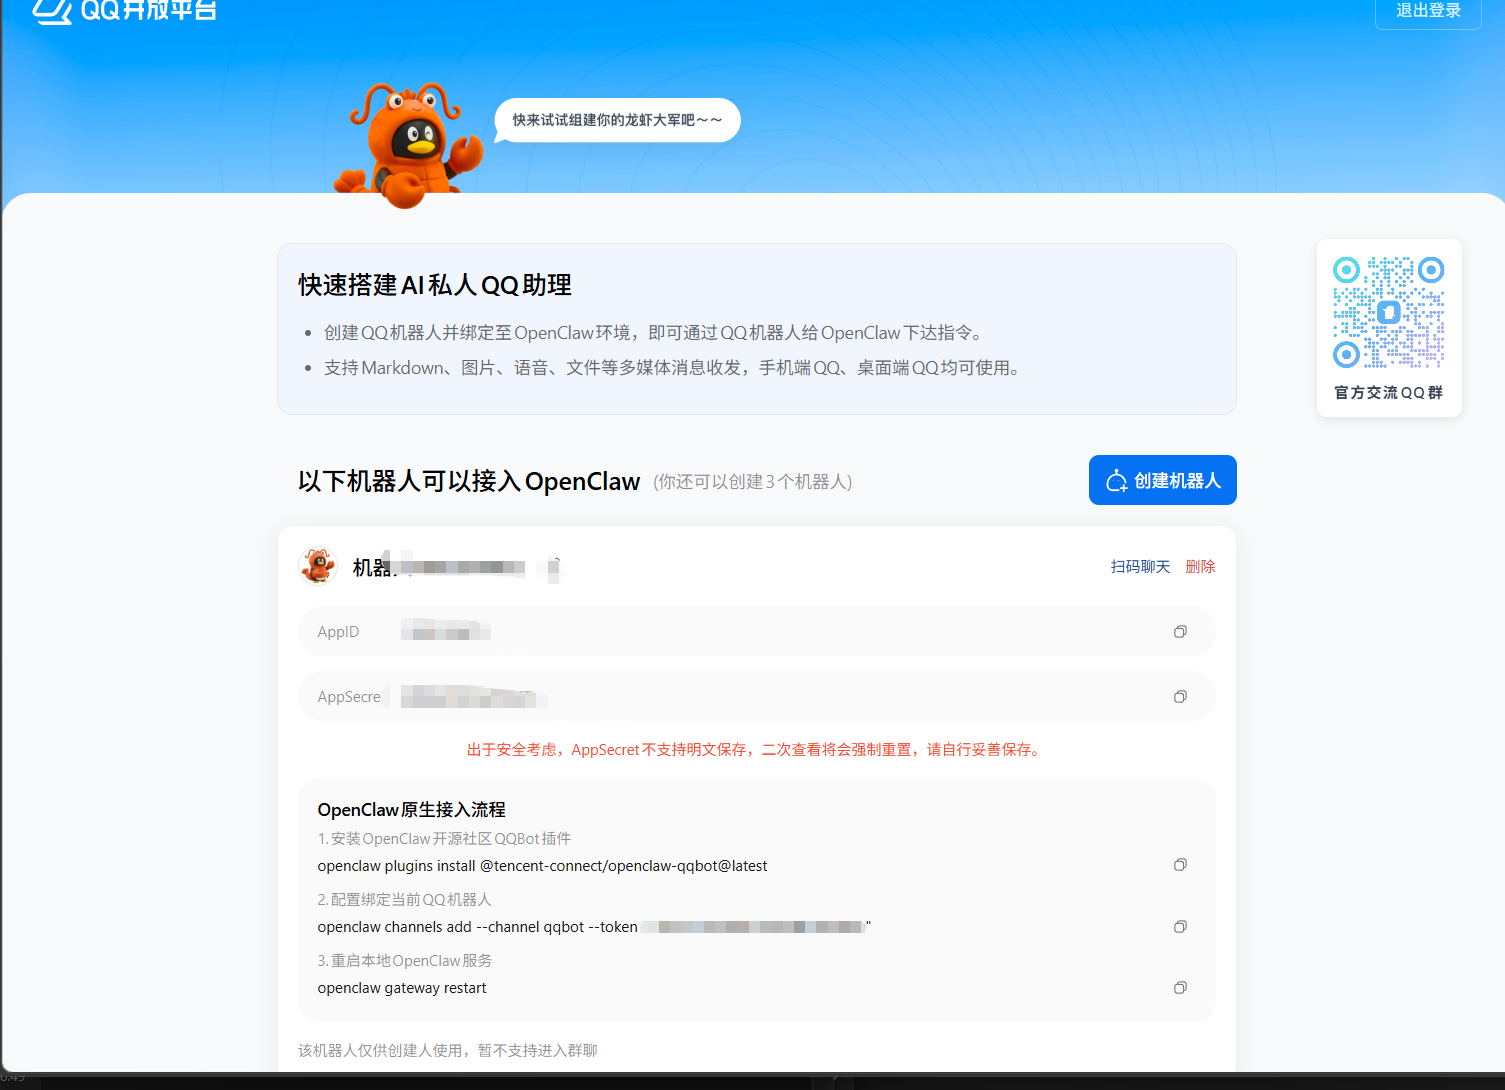
1.连接到QQ
这个最简单了,腾讯有开专门的接口
先登录QQ开放平台 QQ开放平台|机器人列表
创建一个机器人然后按照他给的代码在ctrl+c/v进终端进行了
2.飞书
点击创建企业自应用
然后随便填写创建

点击版本管理与发布,创建一个版本
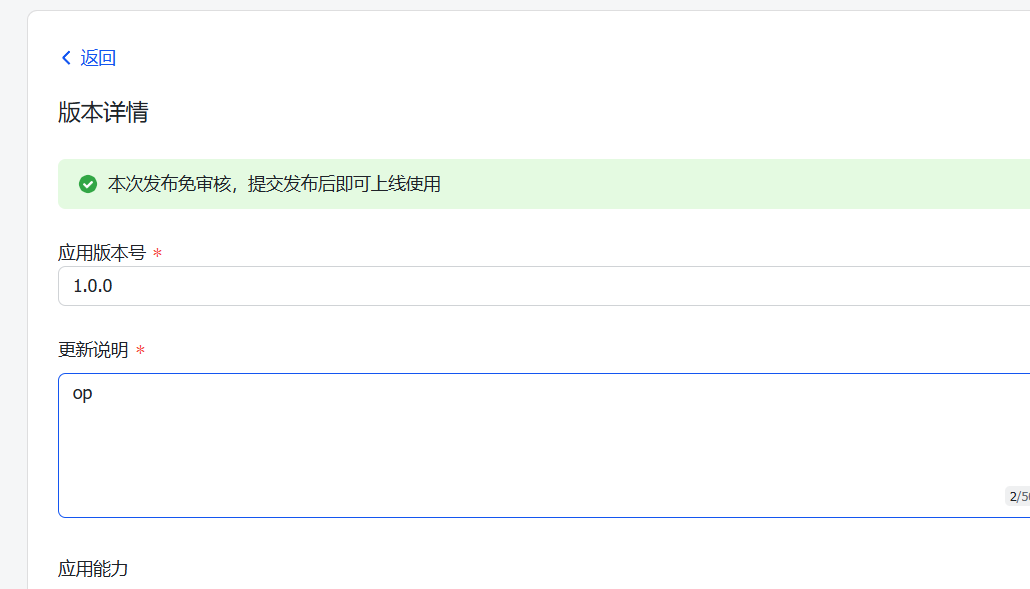
随便填一下创建并发布
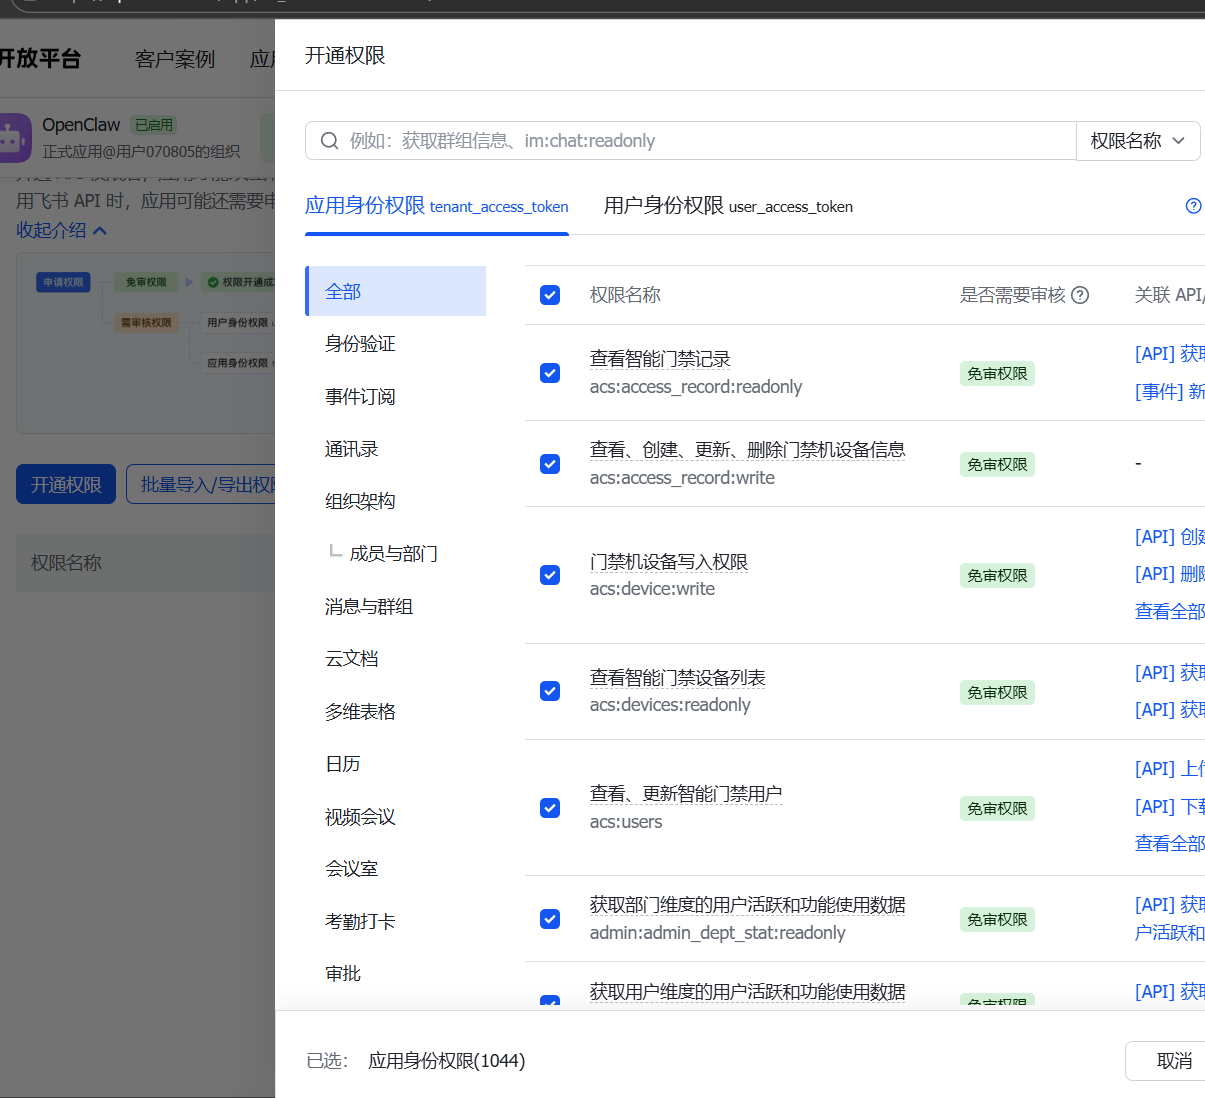
开通权限按自己的需求看着给
安装飞书插件 npx -y @larksuite/openclaw-lark-tools install
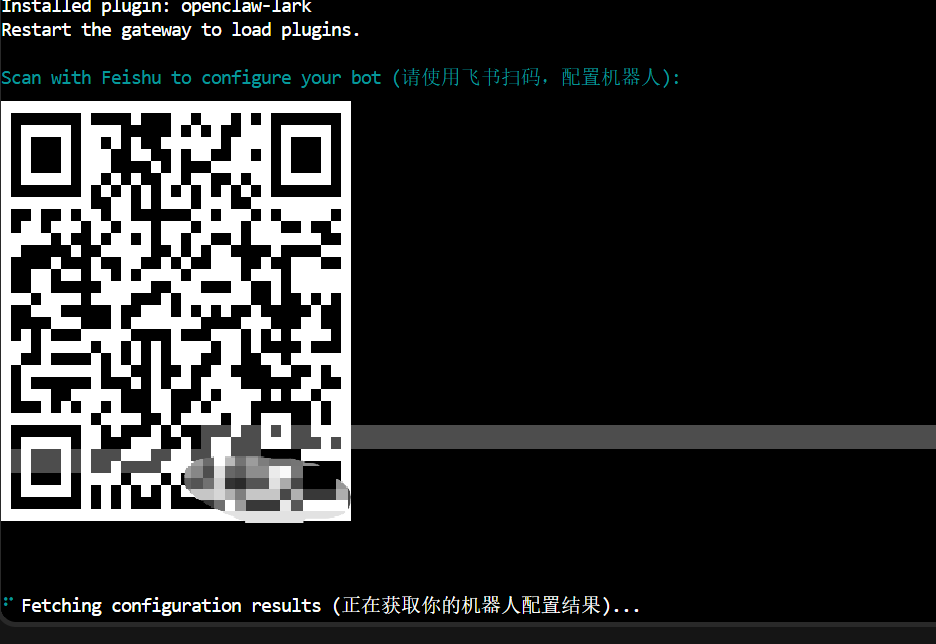
扫码创建一个机器人,如果你有机器人了,扫码后也可以选择
好厉害呀小哥哥(≧ω≦)